The easy way to two-factor authentication for WordPress with Two-Factor and Google Authenticator

WordPress is the most popular content management system (CMS). Therefore, it is also a very popular target for hackers. The default WordPress login requires a username and password combination. If hackers obtain your login credentials, there is no second line of defense and your WordPress site is theirs. Two-factor authentication (or sometimes multi-factor authentication) adds this second line of defense to your WordPress site. Every time you log in to your WordPress site, it’ll ask you for your username and password plus a second factor, e.g. a one-time password. This blog post shows you how to set up two-factor authentication for WordPress. I’ll use the WordPress plugin Two-Factor to set up two-factor authentication with Google Authenticator.
The default way to log in to your WordPress site is using a username and a password. If a hacker obtains them, then they can easily login into your site. For instance, Hackers may obtain your login credentials via WordPress password bruteforcing or they may obtain them directly from your computer (e.g. via a Trojan horse). Therefore, I’ll recommend always use the second line of defense.
Two-factor authentication is your second line of defense. In case somebody obtained your WordPress login credentials, they won’t be able to log in as long as they don’t have access to the second factor, e.g. the Google Authenticator app on your mobile phone. Because every time someone logs in to your WordPress site, it’ll ask for a username plus password and this aforementioned second factor. If the second factor is not provided, then no login will occur.
A word of caution: even though you use two-factor authentication for WordPress, you should not forget to use strong passwords. There are many online (e.g. LastPass) and offline (e.g. KeePassXC) tools to generate and manage your passwords in a secure fashion.
How to setup two-factor authentication for WordPress with Two-Factor?
In the following, I’ll show you how to set up two-factor authentication for WordPress with the plugin Two-Factor. This plugin is open source and developed on Github. This means that there are many eyes looking at its source code, auditing it, and searching as well as fixing possible vulnerabilities in it.
Two-Factor offers you several options to implement two-factor authentication for your website:
- E-mail codes: your WordPress site sends a code to your email address that you must provide to log in
- Time-Based One-Time Passwords (TOTP): you must provide a one-time password, e.g. from Google Authenticator
- FIDO Universal 2nd Factor (U2F): support for hardware security keys, e.g. YubiKey
- Backup Codes: a list of pin codes for one-time usage
While the plugin offers several options, this article describes how to set up two-factor authentication with Time-Based One-Time Passwords (TOTP) using Google Authenticator as the primary second factor and backup codes as “last resort”, e.g. in case you lose your mobile phone.
What you need to setup two-factor authentication for WordPress?
Before we can start, please ensure that you have the following things ready:
- a recent WordPress installation with administrative access (Admin)
- a recent (Android) mobile phone with the Google Authenticator app
- optional: pen and paper
Two-Factor installation
First, we install the WordPress plugin Two-Factor. Head over to Plugins → Add New and search for Two-Factor.
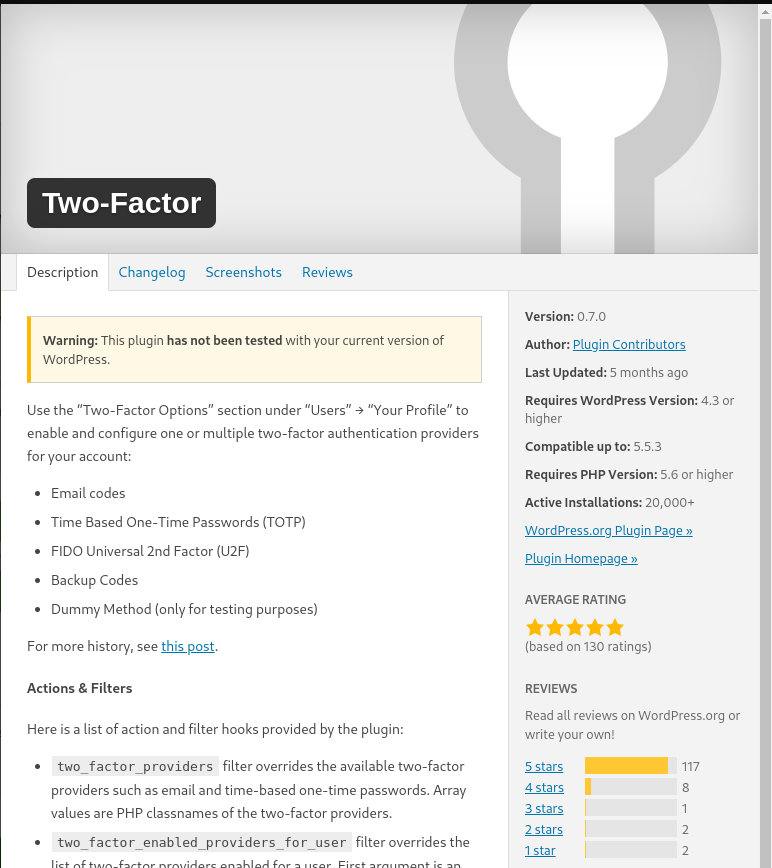
Hit the Install button to install the plugin and then the Activate button to activate it. If the installation was successful, then you should see the additional option (Two-Factor Options) under Users → Your Profile.
Google Authenticator installation
Before you can configure Two-Factor and integrate it with Google Authenticator, you’ll have to install Google Authenticator on your mobile phone. Open the Play Store app on your Android mobile phone, search for Google Authenticator, and install it.
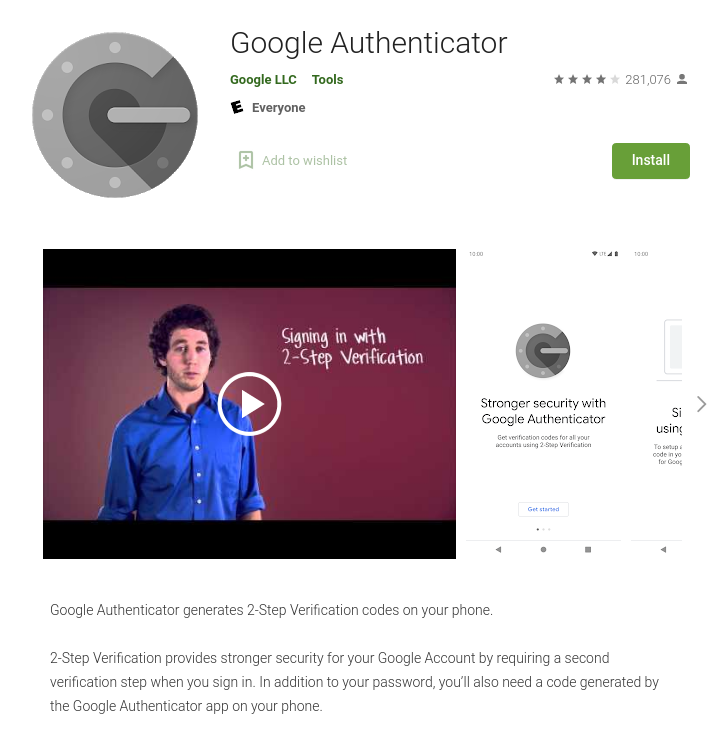
Open the Google Authenticator app and tie it to your Google account, if needed. That’s it.
Two-Factor configuration and Google Authenticator integration
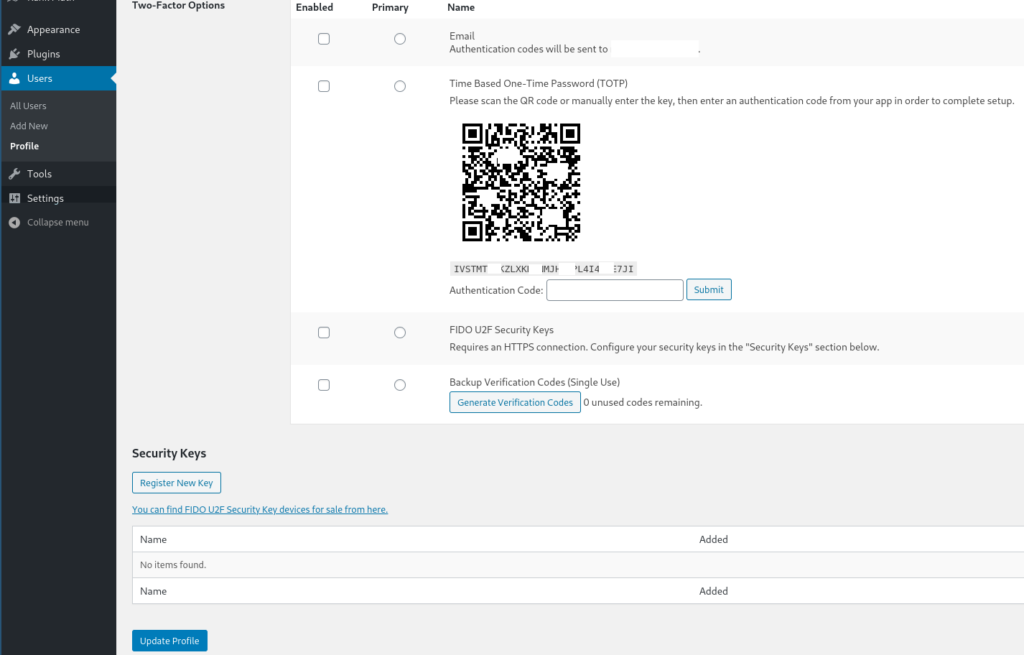
Now with both Two-Factor and Google Authenticator installed, you’ll configure Two-Factor to use Time Based One-Time Passwords (TOTP) with Google Authenticator. Head over to Users → Your Profile and scroll down to Two-Factor Options. Here you need to enable Time Based One-Time Password (TOTP) by checking the checkbox. Furthermore, set the radio button Primary since it will be your primary second factor in the future.
There will be a QR code that you have to scan with your Google Authenticator app (see next Screenshot). Open the Google Authenticator app and click the big plus (+) in the right bottom of the app to add your site. Scan the QR code and Google Authenticator will show you a new entry for your WordPress site with your username. To complete the integration, type in one six digit one-time pin from Google Authenticator in WordPress, and hit the Submit button.
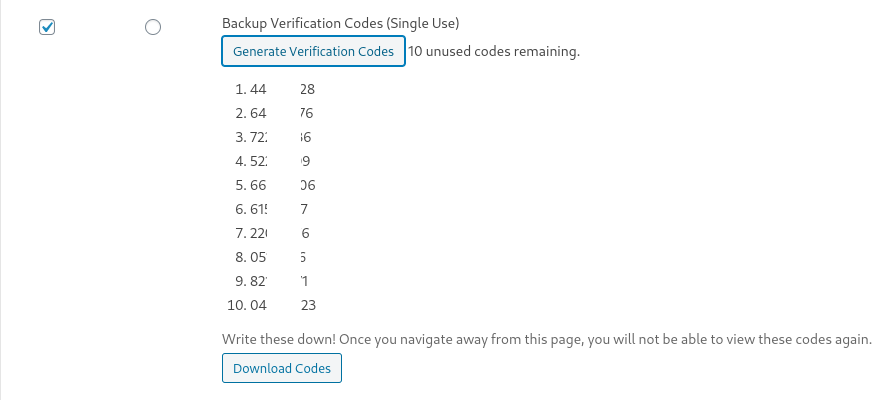
It’s always advisable to have a backup plan. For example, in case you lose your mobile phone or access to your Google account, you won’t be able to log in to your WordPress site. Therefore, you should use Backup Verification Codes as a backup plan. These are ten pin codes that you can use instead of your primary second factor, which is Google Authenticator.
Enable Backup Verification Codes (Single Use) as well but do not click the Primary radio button as shown in the next screenshot.
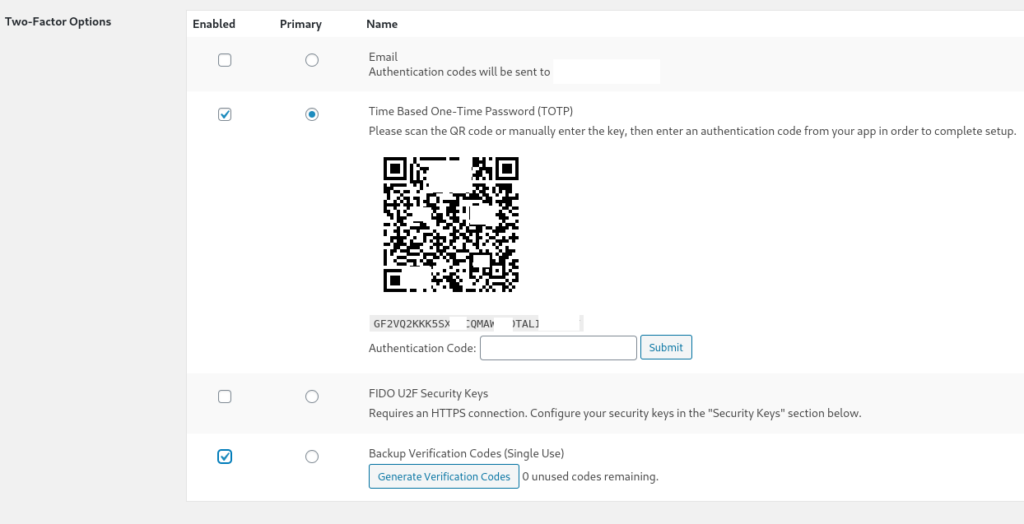
You’ll see ten Backup Verification Codes similar to the next screenshot. Either you use your pen and paper and write them down or you download them and store them on your computer. The most secure way is to write them down on paper. Because if somebody gets access to your computer (e.g. via a Trojan horse) later on, they won’t find these codes on your computer. Therefore, they won’t be able to circumvent the two-factor authentication.
Now, you’re ready to test Two-Factor. Log out from your WordPress site and log in again. First, you’ll be asked for your default login credentials: username and password. But once you’ve entered them, you are now presented a new view similar to the following:

This is the Two-Factor view that asks for your second factor. Pick up your Android mobile phone, open the Google Authenticator app, and get your authentication code (six digits). Be quick when typing them in because they’re only valid for a small amount of time. In the background, Two-Factor will talk to Google and verify the authentication code you’ve just typed in. If everything works out, then you’ll be logged in to your WordPress site as usual.
Perfect, you’ve just set up two-factor authentication for WordPress with Two-Factor and Google Authenticator!